Packaging Design Brief: Product Information, Dielines and Approval
TL;DR
In this guide
- Define the product and range. List variants, buying context and the hierarchy people need to recognise.
- Use supplier specifications. Get the current dieline and production requirements for the actual package.
- Separate approvals. Confirm content, visual design and production proof responsibilities.
A packaging design brief connects the product, the brand and the production requirements. It should tell the designer what the package must communicate, which information is approved and which supplier specifications the artwork must follow.
The topic at a glance
The practical overview
01
Product and message
Identify the brand, product name, variant and essential information for the customer.
02
Format and production
Work from the supplied structure, material and artwork requirements rather than an assumed universal format.
03
Range and handover
Keep variants coherent and document the approved copy, file versions and production release.
Before you begin
What to prepare
Use these practical checks to gather the information needed for the next step.
- Product range and variant list
- Approved logo, identity and product imagery
- Approved product copy and required information
- Current supplier dieline and artwork specification
- Named content, design and production approvers
A useful reminder
A dieline needs a confirmed source and version
Ask the actual supplier to confirm the file used for the job. Artwork based on an outdated or guessed structure can need substantial rework even when the design looks finished.
The practical guidance
Steps, tools and examples
Start with the product and the buying situation
Describe what the product is, who buys it and how people encounter it. A package viewed on a retail shelf, a label seen in an online product image and a shipping outer have different communication tasks. Identify the primary view and any secondary surfaces the customer uses.
List the range before developing a single favourite design. Record product names, variants, sizes and future additions already known. Explain the information that should remain consistent and what changes between items. A range system is easier to assess when the designer can see its actual breadth.
Set the information hierarchy
Supply approved wording for the brand, product, variant and practical information. Identify the essential message and the supporting detail. Do not ask the artwork team to invent ingredients, performance claims, instructions or product compliance wording. Name the responsible business specialists who approve those elements.
Use a content register with the field, exact wording, source, owner and approval date. Mark missing information visibly in the working brief. Avoid treating a filled placeholder as approved copy simply because it fits the layout. Allow for variable areas such as batch or date information where the supplier’s process requires them.
Obtain the actual production inputs
Ask the selected supplier for the current dieline or template, dimensions, print surfaces and artwork requirements. Confirm the intended material and finishes with that supplier. Record which structural elements must remain untouched and how the final artwork should be delivered. Packaging graphics and structural engineering are different responsibilities; identify who confirms the physical package.
Where artwork extends to a trim edge, confirm the required bleed with the supplier. Adobe’s bleed guidance explains the purpose of that area, but it does not set one universal value for every package. Ask about the actual colour workflow and proof method instead of assuming a screen preview matches the finished material.
Confirm barcode and variable-information responsibilities
If a barcode is required, obtain the correct data and the requirements for its intended use. Size, location, print quality and scanning context matter. GS1’s barcode implementation guide explains how those decisions depend on the symbol and scanning environment.
Assign responsibility for the approved code, final placement and production verification. Do not redraw, stretch or decorate it to make a layout fit without an appropriate check. Keep variable information and any additional marks within the supplier-approved areas, with the responsible reviewer identified.
Copy this packaging brief
Record: product/range; audience; buying context; primary view; brand assets; exact copy; required marks; variant differences; current dieline/version; supplier; material/finish decisions; artwork specification; proof method; content approver; design approver; production-release owner. Attach the approved sources rather than relying on a list of files with unclear status.
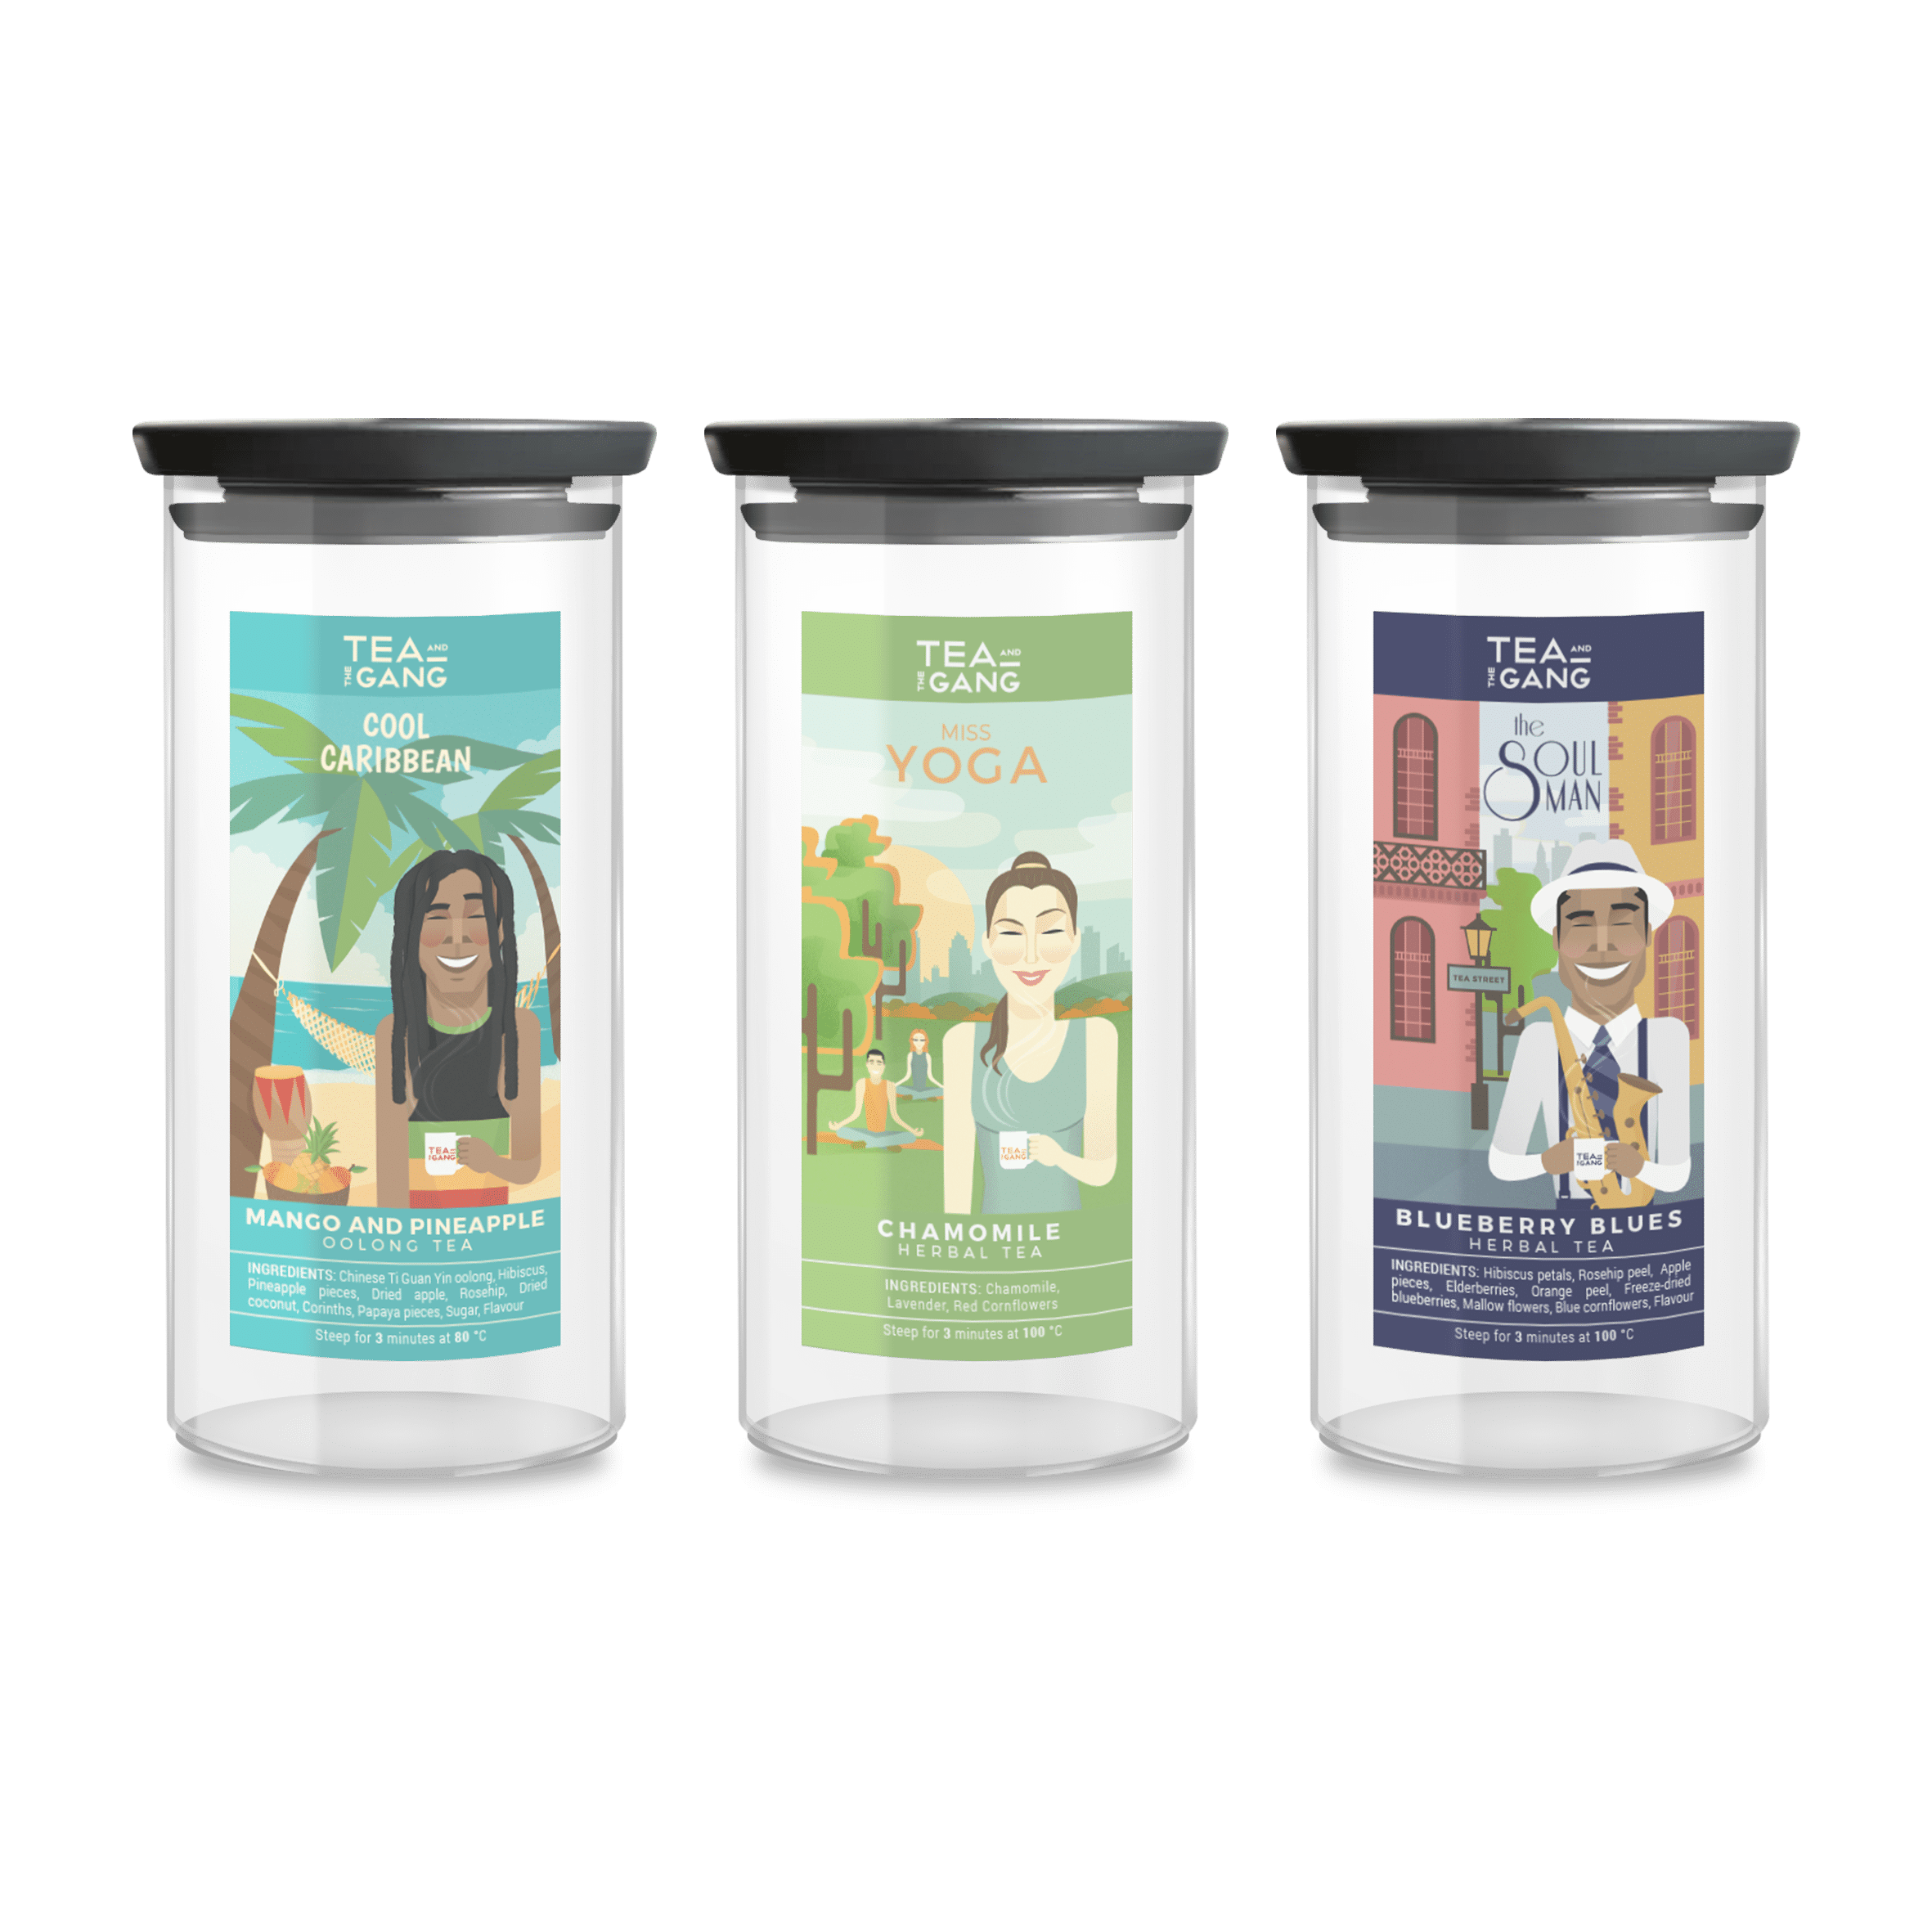
Fictional example: a food business briefs three snack variants in the same pouch family. The supplier provides a confirmed template. The business supplies reviewed product information and barcode data. The designer keeps the brand position and information hierarchy consistent, while using variant names and an approved visual cue. A mockup shows the range; a separate proof process checks the final artwork for the actual production.
Review the range and release the right files
Check every variant against the content register, not only the first design. Review readability, image use, required information, barcode area and the relationship between front and secondary surfaces. Confirm which proof is being approved: a concept mockup, artwork proof or supplier production proof. Keep those decisions identifiable.
Agree the delivered masters, production exports, preview files and any range-update guidance. Use clear version names and prevent superseded files being mistaken for the release. Record who approves amendments after a product detail changes. Continue with the identity-system guide when the wider brand needs definition, and the colour theory guide for output context.
Keep the work useful
Common mistakes to avoid
- Designing before the supplier format is confirmed
- Using temporary product facts in an approved layout
- Differentiating variants through colour alone
- Treating a visual mockup as final production approval