WordPress Website Tutorials: Editing and Everyday Tasks
TL;DR
In this guide
- Start with the task. Choose the guide for the editor and feature used on your website.
- Keep the layout structure. Edit the right element and preview the smaller-screen result.
- Check the public page. Saved editor content still needs a visitor-facing check.
Practical help for updating your WordPress website, from changing a page to publishing your next blog post.
Manage your website with confidence
Start with an everyday task below, or browse the grouped guides for a specific feature. These tutorials cover WordPress and the Flatsome tools used to build your website.
Before you update, preview your changes on desktop and mobile. After saving, open the public page and check its text, images and links.
The topic at a glance
Everyday website tasks
01
Edit a page
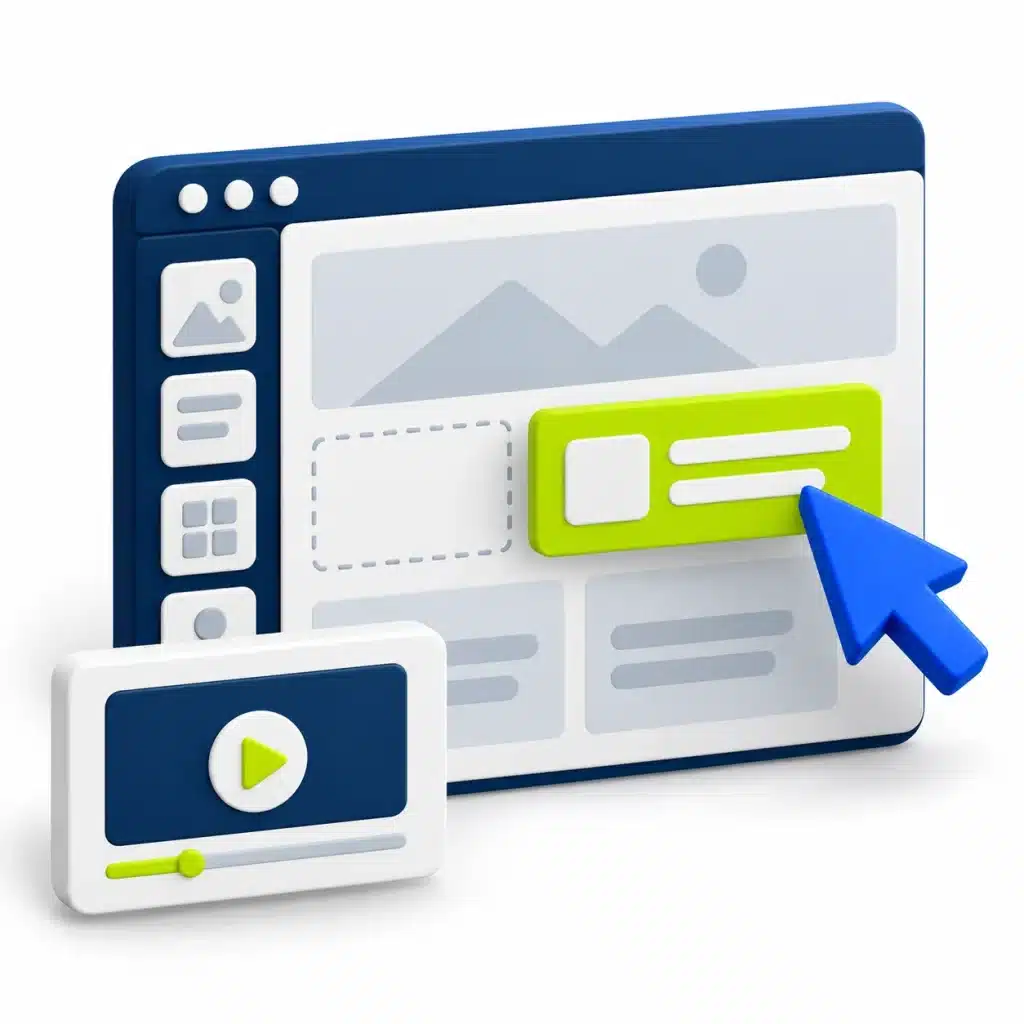
Open an existing page in UX Builder to update its text or images. Keep the sections, rows and columns in place so the layout stays consistent.
02
Publish a blog post
Add your title and content in WordPress, then choose a category and featured image. Preview the post before publishing.
03
Check the mobile layout
Use the responsive controls to review your page on smaller screens. Check image sizes, headings and button placement.
A safe workflow for a routine content edit
Identify the page and the text or image that needs changing. Open the editing tool already used for that content. In UX Builder, the section, row and column structure controls the layout; change the relevant text or image element rather than replacing the full structure.
Save approved copy and a suitable image first. After editing, preview the desktop and mobile layouts. Check that longer wording does not make a heading or button awkward, that image cropping still makes sense and that any link points to the intended destination.
Check what a visitor sees
After saving, open the public page. Read the updated information, follow the relevant links and check the mobile version. A preview inside the editor is useful but does not show every visitor-facing condition.
For a shared block, menu or header change, inspect other pages that use it. If you are unsure whether an element is shared, ask before treating it as a change to only one page. For new functions or large layout changes, prepare a clear request rather than guessing at settings.
Describe an editing problem clearly
Example support request: I need to replace the team photograph on the About page. I can edit the text in UX Builder, but I cannot identify the image element. Here is the page link and a screenshot showing the photograph.
State the task, page, editor and what happened. Avoid sending login credentials through a general public brief. The grouped guides below include theme features and optional integrations; use a guide only when the feature applies to your site.
Put it into practice
Before publishing an edit
- Use the editor already assigned to the content
- Keep section, row and column structure intact
- Use approved text and an appropriately prepared image
- Check headings, button wording and link destinations
- Preview the mobile layout as well as desktop
- Open the public page after saving
- Ask for support when the affected setting or shared element is unclear
Keep in mind
Match the guide to your website
Documentation explains a feature, but it does not prove that the feature is installed or configured on your site. Check the existing setup before changing integration or shop settings.
Common mistakes to avoid
- Removing layout structure while changing a sentence
- Editing a shared block without checking its other uses
- Assuming an optional integration exists on every website
- Stopping at the editor preview without checking the public page
The practical guidance
Find the guide you need
Choose a topic to view the official UX Themes documentation. Shop and integration guides apply where those features are enabled on your website.
- How to use the new Header Builder
- UX Builder – How to create a Slider
- Responsive Sliders and Banners
- UX Builder – How to create ‘Scroll To’ link
- How to create a ‘Scroll-To’ link
- How to add my own personal menu label
- How to open images and galleries in a lightbox
- Getting UX Banner video to work in all browsers
- How to add/set a Favicon
- Creating a mega menu
- How to create custom 404 page content
- How to create a custom product page
- How to enable registration on “My Account” page
- How to add payment icons to footer
- How to add banner or slider to a category / shop page
- How to setup Wishlist correctly
- How to add multiple custom product tabs
- How to enable Catalog Mode
- How to create a simple Size Guide pop up (lightbox)
- How to set featured products
- Removing Downloads from My Account
- How Related Products works
- How to add Product variations
- How to edit shop header with UX Builder
- How to Disable Admin bar for customers
- How to disable reviews
- How to reorder tabs on the single product page
- Variation swatches